
How to Recover Data From a Hard Drive That Won’t Boot
When your hard drive suddenly decides to stop booting, it can seem like all your data has become a hostage as it will no longer be accessible. No matter what prevents your hard drive from booting, you must act quickly to ensure your data is recovered safely.
We’re going to show you how to recover data from your hard drive that won’t boot, as well as some simple fixes you can implement to hopefully get your drive back up and working again.
How to Retrieve Files from an External Hard Drive That Won’t Boot
We’ll start by showing you a few ways to recover data from an external hard drive that won’t boot so you can once again access your files.
Method 1: Mount Your External Hard Drive to the PC
Your external hard drive may not be booting as it’s not receiving sufficient power. When your computer boots, it typically uses more power than when it’s idle as it goes through a series of initialization processes. Once the computer is fully booted, it consumes less power as it’s no longer performing intensive tasks.
To retrieve data from an external hard drive that won’t boot due to insufficient power, connect it directly to your computer after it has finished booting. This ensures there is enough power to spare after all other necessary hardware components are running. Furthermore, if your external hard drive requires dedicated power, make sure its power supply is connected.
Method 2: Scan It Using a Data Recovery Tool
To get files off a hard drive that won’t boot, you can perform external hard drive recovery using data recovery software. This works for external hard drives that have failed or become corrupted, as long as they’re readable in Disk Management and show the correct storage capacity.
This is what you should look for in a data recovery tool to recover data from a hard drive that won’t boot:
- ✉️ The ability to bypass error messages – A good data recovery tool should be able to scan your disk, even if it has errors that would usually prevent you from accessing it through normal means (such as File Explorer).
- 💿 Byte-to-byte backups – A hard drive that won’t boot can be unstable and may fail completely during recovery. Therefore, the option of creating a byte-to-byte backup to scan from is really helpful.
- 🔍 Multiple scan modes – Some of your data may become lost as a result of what caused your hard drive to fail. Therefore, recovery software with multiple methods of scanning for data is beneficial.
After careful consideration based on its abilities displayed in our testing process, we recommend Disk Drill. It’s a data recovery solution that can easily scan hard drives that won’t boot, even ones that are plagued with error messages that stop you from accessing your data. It includes a handy byte-to-byte backup tool so you can preserve the original data on your drive and does an excellent job of finding existing and lost data by utilizing multiple methods of scanning. Learn more about the software in our Disk Drill review.
Here’s how you can recover data from an external hard drive that won’t boot using Disk Drill:
- Download and install Disk Drill.
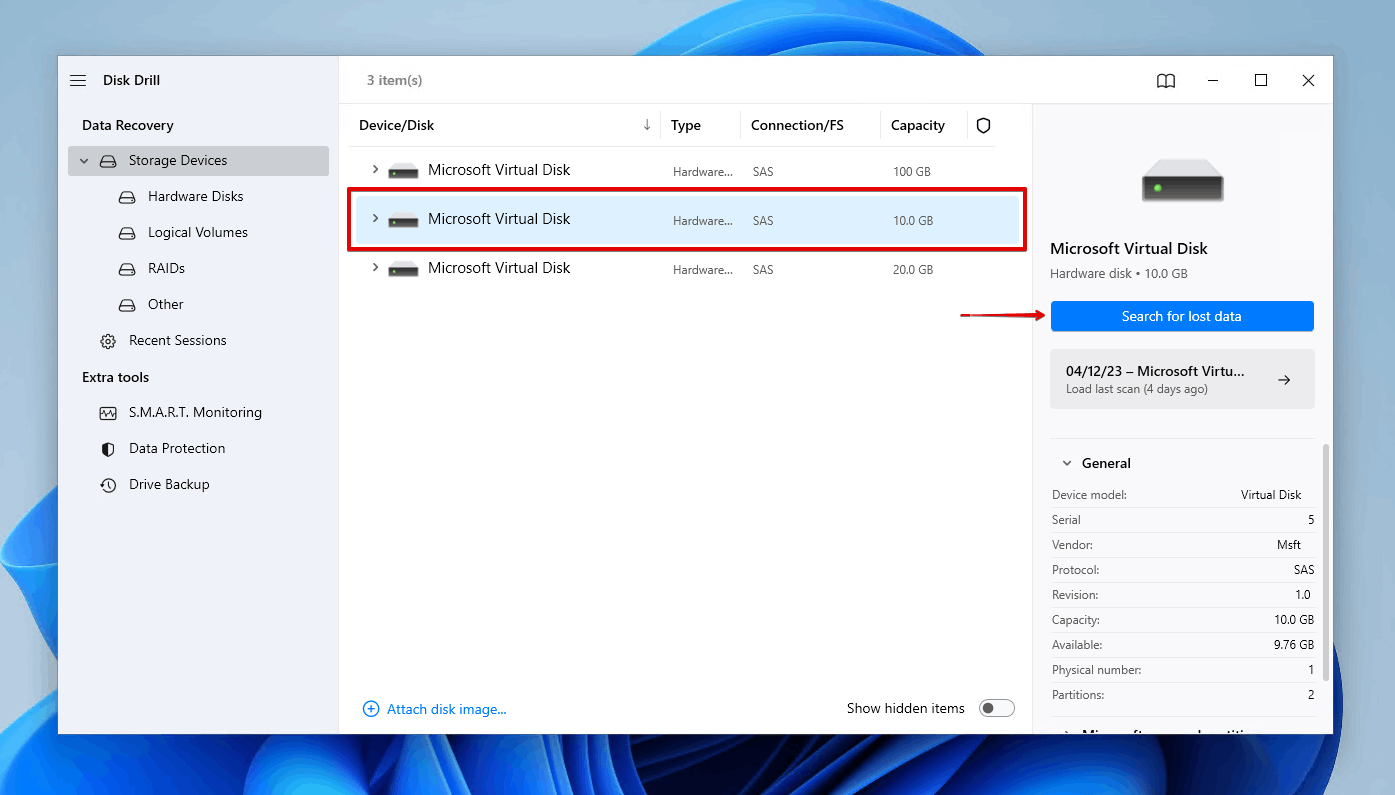
- Connect your external hard drive that won’t boot to the computer and select it from the list of devices. Click Search for lost data to begin the scan.
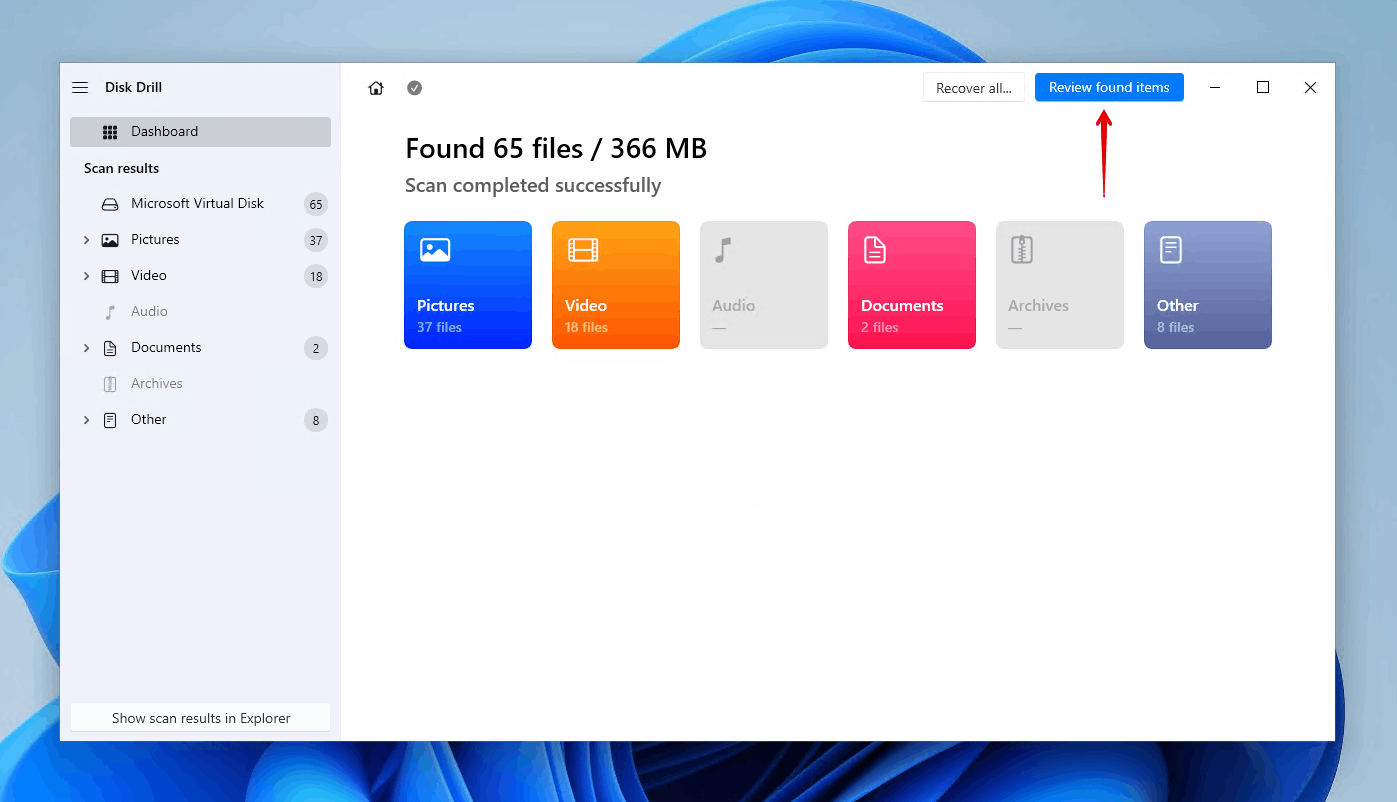
- Click Review found items once the scan has finished. Alternatively, to recover everything straight away, click Recover all instead.
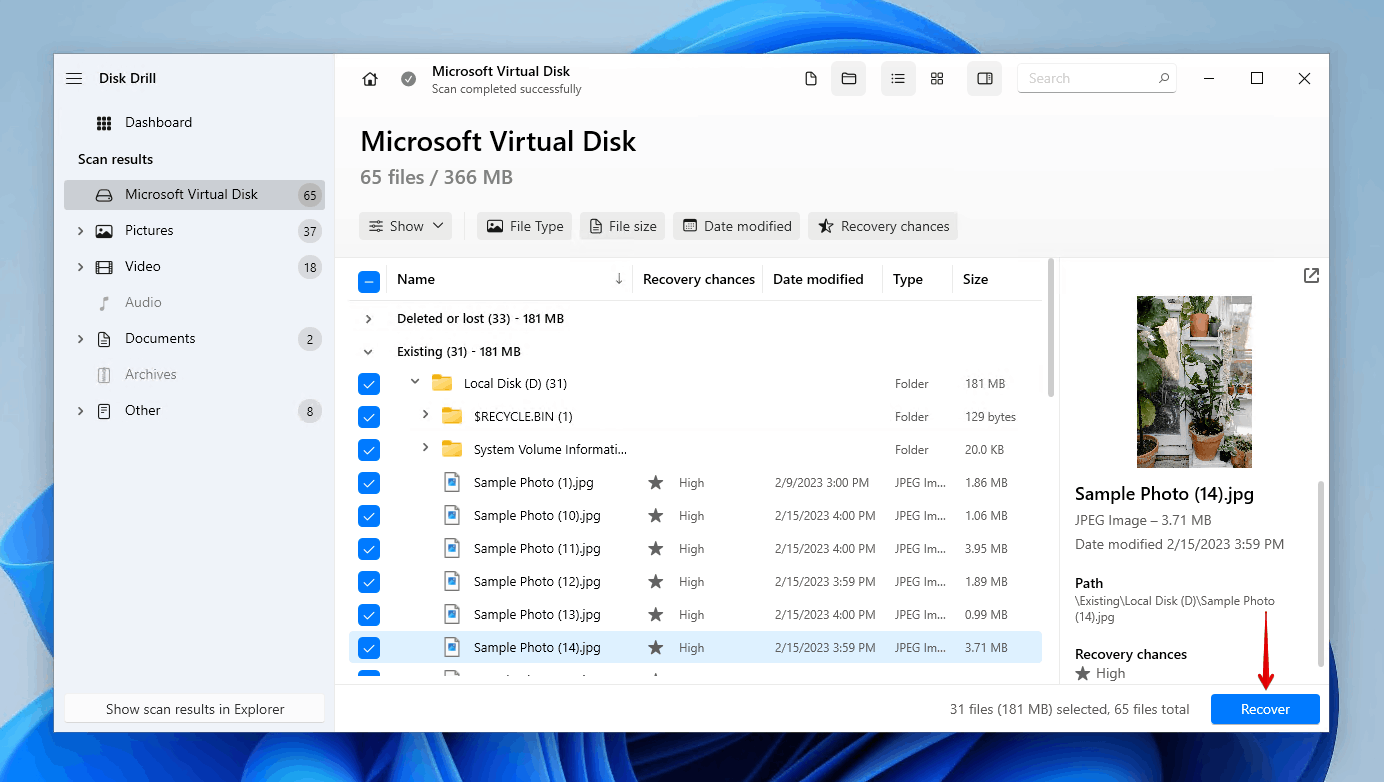
- Select the data that you want to recover. All of your existing data can be found in the Existing dropdown. You can also make it easier by only showing existing data by clicking Show, then Existing. Click Recover when you’re ready.
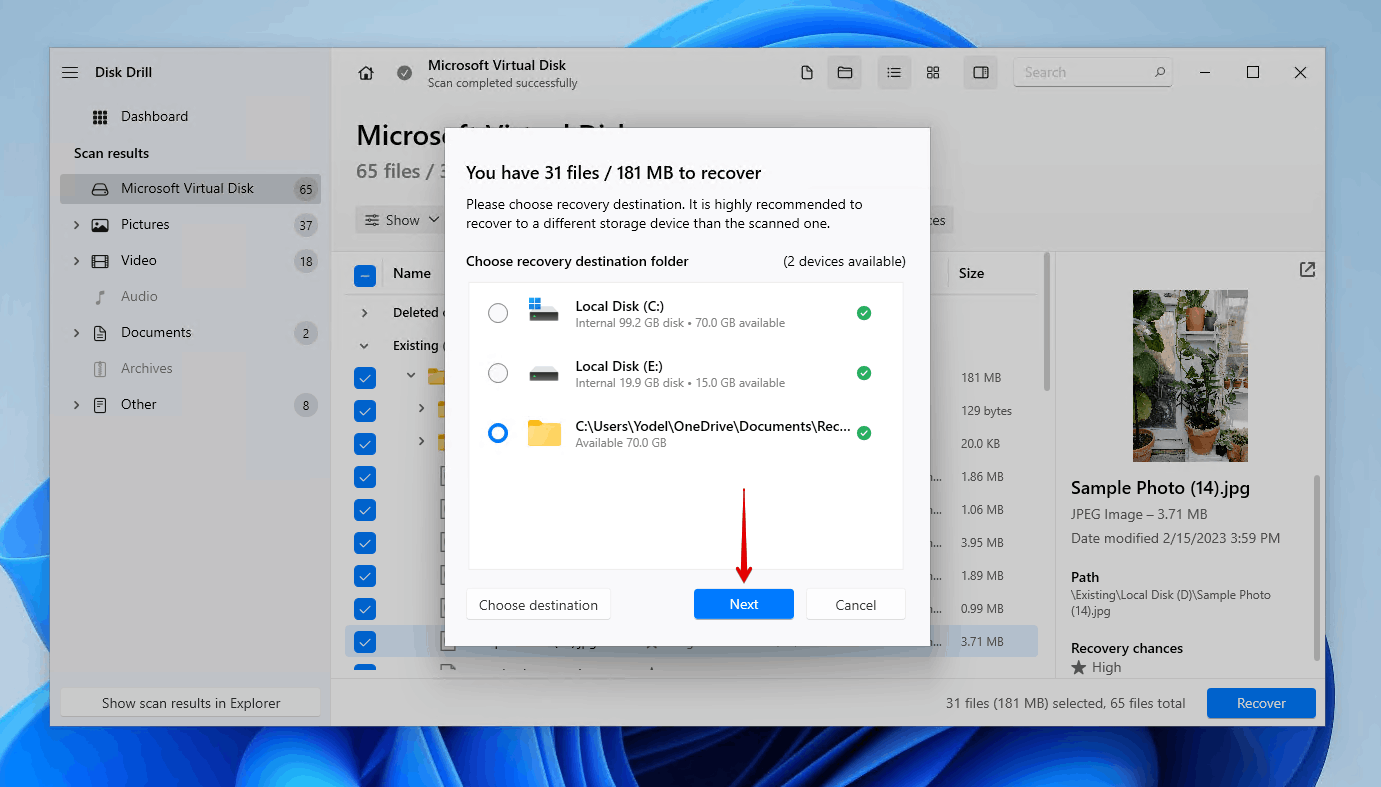
- Select a suitable recovery destination (not on the same external drive you’re recovering from) and click Next.
How to Recover Files From a System Hard Drive That Won’t Boot
Internal hard drives that won’t boot are a little bit more troublesome. Nevertheless, you should still be able to get your files back. Although the below methods are demonstrated on Windows 11, they will also work on Windows 10.
Method 1: Restore Your OS Using a Windows Installation USB
If your Windows operating system is damaged or corrupted, you may experience a Blue Screen of Death (BSoD) that prevents your computer from booting correctly. In some cases, your computer may get stuck in a seemingly endless restart loop.
When your operating system is compromised, you can use your Windows installation media to repair it. This is one of the best solutions if you need to recover a hard drive that won’t boot due to a corrupted or damaged operating system.
- Connect your Windows installation media. If you no longer have one, you can create a bootable USB drive using the Media Creation Tool.
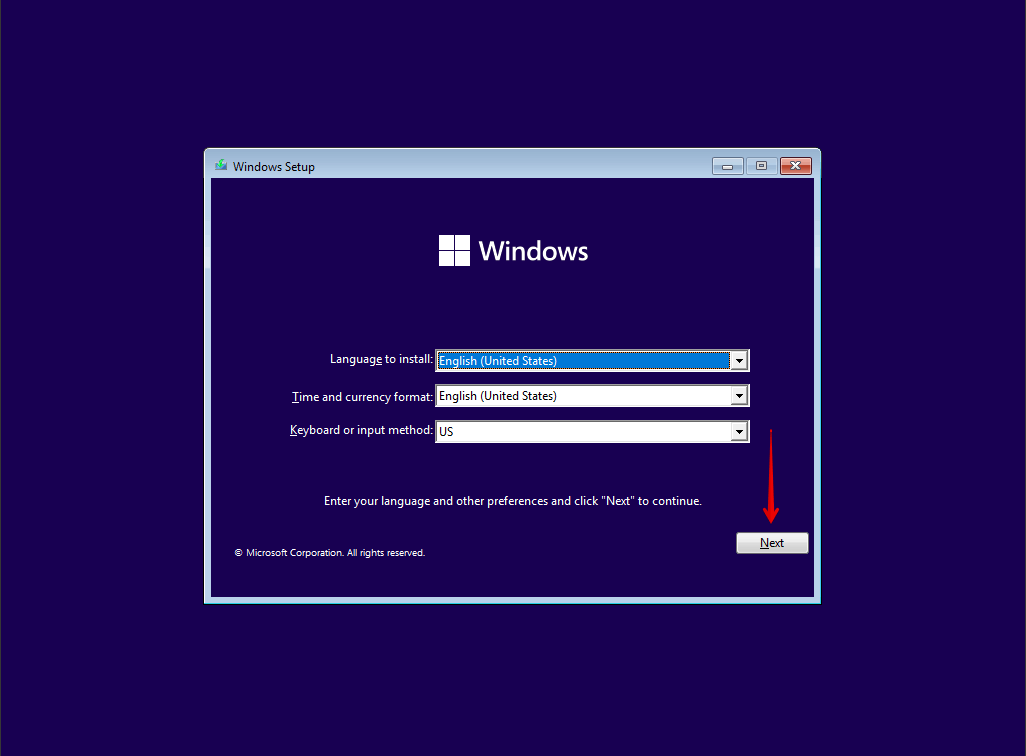
- Select your language and other preferences, then click Next.
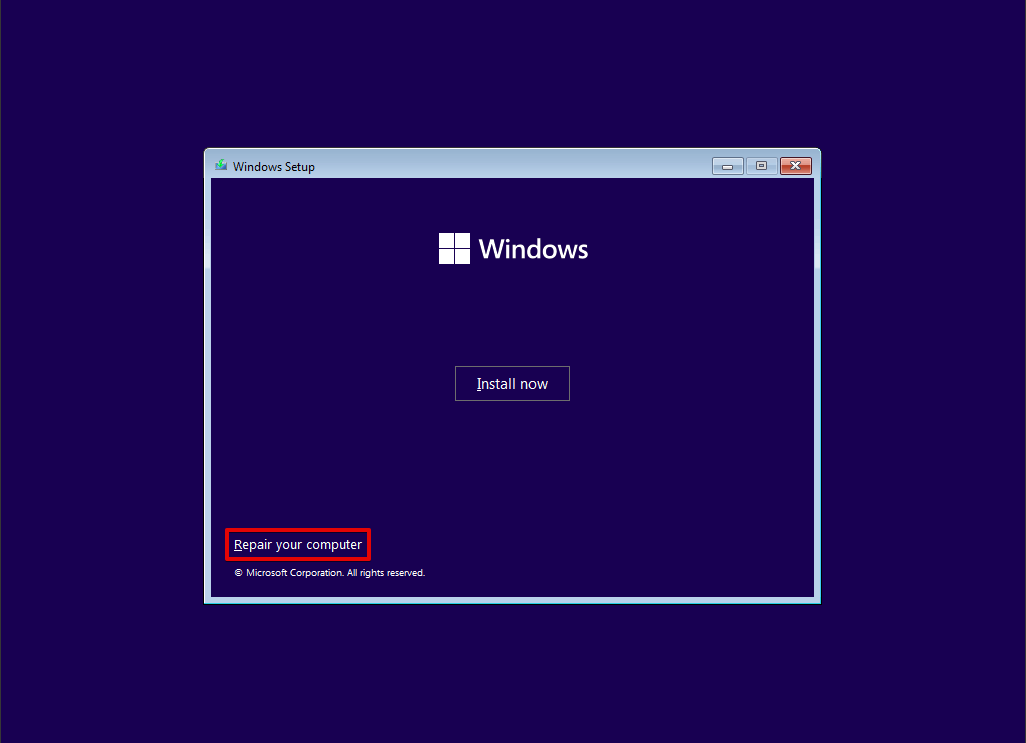
- Click Repair your computer.
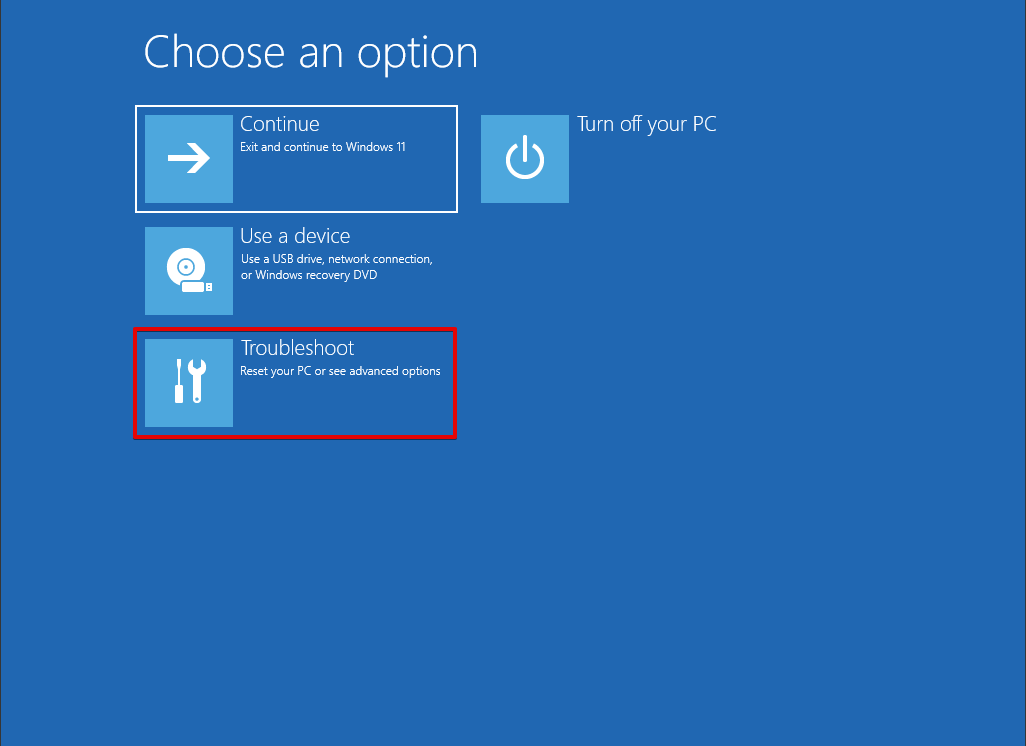
- Click Troubleshoot.
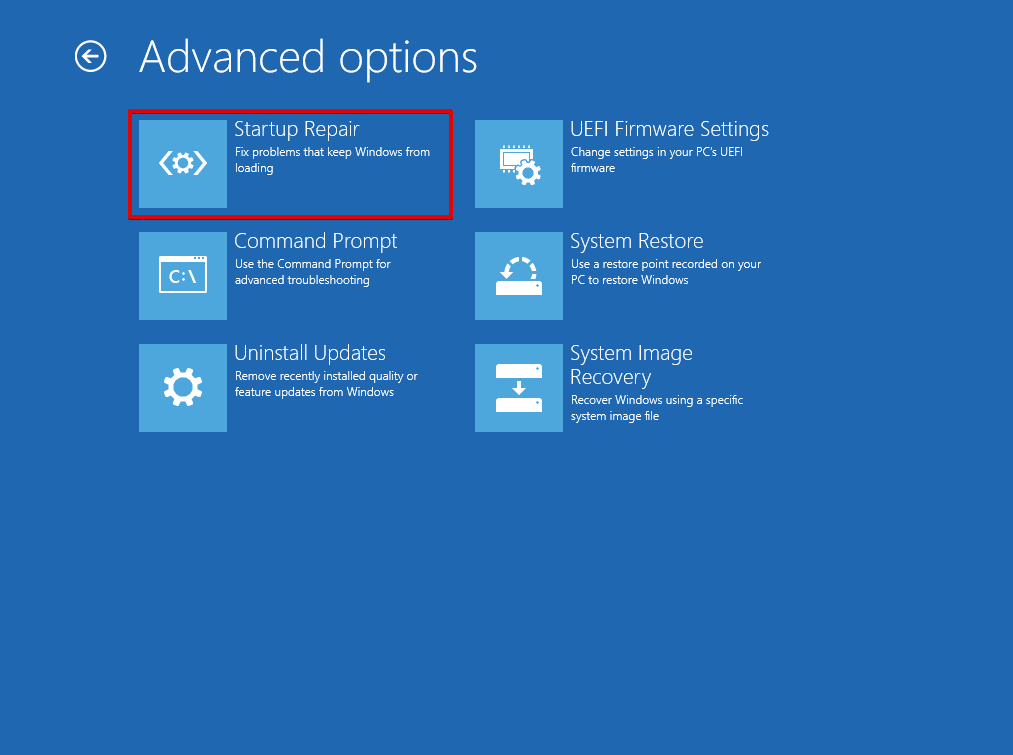
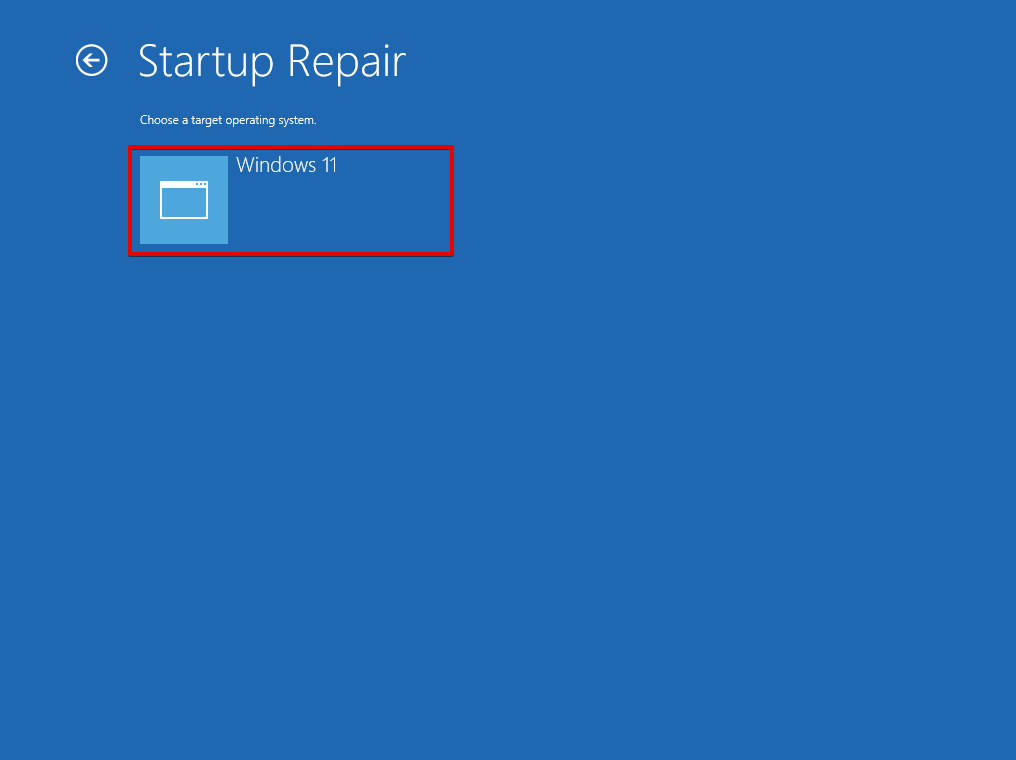
- Click Startup Repair.
- Select your operating system.
If it is still unable to repair the damage, you can choose the System Restore option instead and restore to a previous point in time when your system was working correctly.
Method 2: Retrieve Data from a Hard Drive that Won’t Boot
Like with the external hard drive, you can recover files from a hard drive that won’t boot using specialized hard drive data recovery software. The hard drive data recovery process may look slightly different, but it’s largely the same.
Step 1: Connect Your Hard Drive to Another Computer
When your system drive is the one at fault, you will need to remove the drive and connect it to another computer using a hard drive enclosure. Alternatively, you can connect the drive to another computer internally for the sake of recovery. Even if the operating system is corrupted, data recovery software will still be able to scan it and recover data.
Step 2: Use File Recovery Tool to Retrieve Lost Files
Once the HDD is connected to another computer, you can begin the recovery process to transfer your files. Refer to the guided recovery instructions we mentioned earlier, or take a look at the brief steps below:
- Download and install Disk Drill.
- Select the hard drive that won’t boot.
- Click Search for lost data.
- Click Review found items.
- Select the data you want to recover.
- Click Recover and choose a recovery location.
Other Ways to Fix a System Hard Drive That Won’t Boot (PC or Laptop)
Once your data is safe and sound, you can look at ways to troubleshoot your system drive to get it functioning again. Bear in mind that some of these methods may result in data loss, so it’s imperative that you perform data recovery before attempting any of them.
Method 1: Connect the Hard Drive As an External Device
Removing your internal system hard drive and connecting it as a secondary disk in another computer makes it more convenient to troubleshoot, especially in cases where your operating system is corrupted. To do this, you will need a compatible hard drive enclosure. You can then connect the hard drive enclosure to your computer through USB and your drive will appear as if it were an external storage device.
Method 2: Disconnect Unnecessary External Devices
Your system drive may not boot up due to a lack of power. If you have a large number of external devices connected to your computer, they can draw a large amount of power. This is especially true with multiple external hard drives connected to the same computer.
Remove all external devices from your computer, leaving only your mouse and keyboard connected. Then, try booting up the computer to see if the drive boots like normal.
Method 3: Check Your Boot Priority Settings
The boot priority in your BIOS may not be configured to boot from the correct hard drive that contains Windows. If you have more than one drive in your computer, you must ensure that your system drive has a higher boot priority than any other storage device. You can do this simply by removing all other drives from your computer to test, or manually changing the priority list like so:
- Boot into your BIOS. The exact method will vary depending on the brand of your computer. Check out this guide if you’re unsure what hotkey to push during boot.
- Access the Boot section of your BIOS.
- Make sure your system drive is at the top of the list. Again, changing the priority of the drive will look different based on your BIOS, but usually, they can be moved up and down using the + and – keys.
- Exit the BIOS using Save and Exit.
Method 4: Reset your BIOS and CMOS
If you’re willing to get a bit more technical, you can try resetting your BIOS. Resetting your BIOS can correct any hard drive boot priority problems, as well as any other incorrect settings. The CMOS battery in your computer is what powers the BIOS, and clearing it will reset your BIOS to factory defaults.
You can do this in the BIOS or by removing the CMOS battery and reconnecting it.
Reset Through BIOS
- Boot into your BIOS.
- Go to Exit and select the option Load Optimal Defaults (may also be shown as Load Setup Defaults).
- Press Enter, then Enter again to confirm.
Reset Through CMOS
Your motherboard or computer case may have a clear CMOS button that you can press to reset your CMOS. Consult the guide of your motherboard or computer case for specifics. If you have a clear CMOS button, you can press and hold it for 10 seconds to clear the CMOS. If you don’t have one, follow the instructions below instead:
- Disconnect any external devices.
- Power down your computer and remove the AC power source.
- Make sure you’re grounded, then remove the CMOS battery from your motherboard. It will look like this.
- Wait 1 to 5 minutes, then reconnect the battery.
Method 5: Contact a Data Recovery Service
In instances where you’ve tried everything you can but your hard drive is not detecting, it may be dead. However, just because it won’t read for you doesn’t mean all hope is lost yet. At this point, your best bet is to rely on a hard drive recovery service.
Although this is the most costly option, it has the highest chance of success as you’re leaving everything to a highly qualified data recovery professional.
Frequently Asked Questions
How to get files off a hard drive that won't turn on?
If the hard drive shows signs of mechanical damage and does not appear in the system (either in Disk Management or BIOS) after you weren’t able to turn it on, we recommend reaching out to a data recovery service. Otherwise, if the system does read the hard drive, we recommend using data recovery software like Disk Drill:
- Download and install Disk Drill.
- Connect the hard drive that won’t boot to your computer.
- Scan the hard drive that won’t turn on.
- Select the files that you want to recover from the unbootable drive.
- Recover the files to a safe location on another storage device.
How to recover files from an SSD that won't boot?
To recover files from an SSD that won’t boot, you will need to go through SSD data recovery using specialized SSD recovery software. We recommend Disk Drill because it has a great chance of recovering data from HDDs and SSDs that won’t boot. If you’re looking for a free solution, check out PhotoRec or Recuva.
Is there a way to access files without booting Windows?
If your system drive is compromised, you should remove it from your computer and connect it to another computer using a hard drive enclosure. This way, the hard drive will show as an external device and allow you to move files across or troubleshoot it.
How to clone a hard drive that won't boot?
If your old hard drive appears to be broken, you can make a clone of it using Disk Drill’s byte-to-byte backup feature. This feature is available for free and allows you to create a byte-to-byte copy of the hard drive that you can recover data from. Macrium Reflect is another good alternative.
Conclusion
There are multiple approaches you can take to recover data from a hard drive that won’t boot. If it’s an external hard drive, try connecting it directly to your computer and removing any other unnecessary USB devices. Internal hard drives can be removed and connected as an external drive using a hard drive enclosure. However, if the hard drive is old and unstable, we recommend using data recovery software instead as there’s no telling when the drive will stop working completely.
- 46 publishings
- Auckland, New Zealand
Jordan Jamieson-Mane is a content writer with a focus on technology-related content. He has spent much of his life studying and working with all types of technology. During his time as a writer, he has written countless articles in the field of data recovery, breaking down complex topics into articles that are easy to understand.
When he's not writing articles on data recovery, Jordan enjoys traveling the world, reading books, and building websites.
- LC Tech FILERECOVERY Professional Review – Can It Compete with Modern Recovery Tools?
- UFS Explorer Review – A Powerful Recovery Tool With Lots to Offer
- Cisdem Data Recovery for Windows Review – A Capable Copy
- AnyRecover Data Recovery Review – A Polished Solution for Basic Users
- iBoysoft Data Recovery Review: Not Much to Offer
- Frisco, Texas, United States
Yevgeniy Tolkunov is Hardware Engineer at ACE Data Recovery. Yevgeniy has a Master's Degree in Physics, Information Technology; 15+ years of experience.