10 Ways to Fix the External Hard Drive Is Not Mounting on a Mac
When you connect an external hard disk drive (HDD) to a Mac, it shows up on Disk Utility, Finder, and Desktop. However, it does not appear in these places sometimes, leaving you unable to mount the drive. It is one of the most common problems Mac users face. You’ve arrived at the right place if you fall into this category. We’ll guide you on fixing the external hard drive not mounting on Mac issue.
Reasons Why an External Hard Drive Won’t Mount on a Mac
We’ve created the below table outlining the common reasons an external hard drive won’t mount on Mac:
| Reason | Description | Recovery chances |
| Physical connection issues | The cable connecting the hard drive to your Mac might be faulty or broken. | Very high |
| Power supply issues | Insufficient power supply from your Mac’s USB ports. | Very high |
| Incorrect disk display setting | Your Mac might be configured to not display external hard disks on the Desktop or Disk Utility even when recognized. | Very high |
| Hard drive corruption | Hard disk files may be altered from their original state, preventing your Mac from reading them. | Low |
| Unsupported file system | Your macOS version might not support your drive’s file system. | High |
Stay with us as we delve deeper into each step of the solution process. Before you know it, you’ll be back to capturing those priceless moments!
How to Recover Data from an External Hard Drive that Won’t Mount on a Mac
You need specialized software to recover data from external hard drives that won’t mount on your Mac. We have tested different data recovery software for Macs and provided recommendations based on specific situations. After narrowing down your options, you can use our comparison tool to analyze different recovery apps and check their advantages and disadvantages. Then, you can use our software picker to choose the best option based on a survey.
Characteristics of effective data recovery software include:
- 📄 Support for different file formats: The software should be able to scan and recover different types of files. Whether it’s a text file stored in PDF or DOC, a video stored in MP4 or MKV, or audio stored in MP3 or WAV, your software should be able to recover them from a hard drive.
- ⚙️ Work on all macOS versions: The data recovery software should work with all available macOS versions, including newer ones like Catalina, Big Sur, and macOS Monterey, and older versions like High Sierra and Mojave.
- 🤗 User-friendly interface: The software should be easy to understand and navigate. A data recovery tool with an overly complex interface is frustrating and can cause mistakes, e.g., deleting files instead of restoring them.
- 🔎 Multiple scan modes: There are multiple ways to scan hard drives to recover deleted data. Your data recovery tool should support as many as possible to increase the chances of recovering your files. It must be able to recover data from problematic drives, be they corrupted or inaccessible for other reasons.
Disk Drill is the best overall recovery software we reviewed, with excellent features and a stellar user interface. It works with virtually all types of external hard disks, including Seagate, Lacie, SanDisk, WD My Passport, etc. The chances of file recovery depend on if the hard drive appears in your Mac’s Disk Utility tool.
The first step of using Disk Drill is downloading and installing it from the official website. It is a freemium tool, meaning it has free and paid versions. The free version lets you preview all recoverable files, so you can only pay for a license when you know Disk Drill is actually restoring your lost files.
Downloading and installing Disk Drill is a straightforward process. The website provides step-by-step instructions with illustrations to help users.
After installing Disk Drill, launch the app and select the drive that is not mounting. Disk Drill has a user-friendly, well-organized interface that makes it easy to select drives.
After selection, click the Search for lost data button to begin a scan. Disk Drill uses sophisticated external hard drive recovery methods to detect as many files as possible on the first attempt.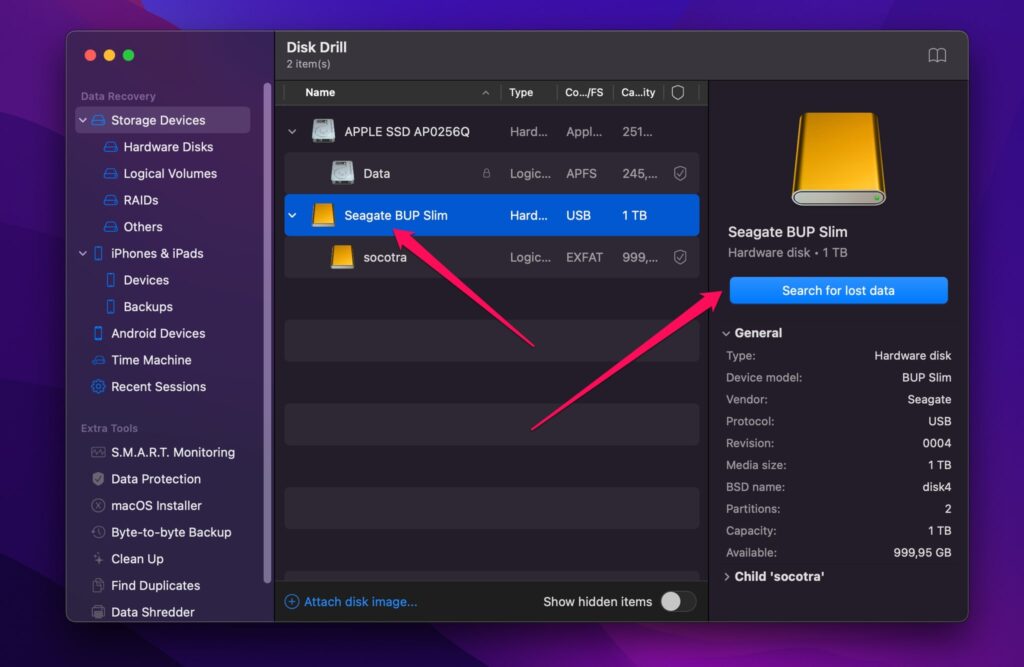
Disk Drill gives you real-time updates as it scans your external HDD for lost files. It separates files into six categories (photos, video, audio, documents, archives, and others) and indicates the number of files detected in each type.
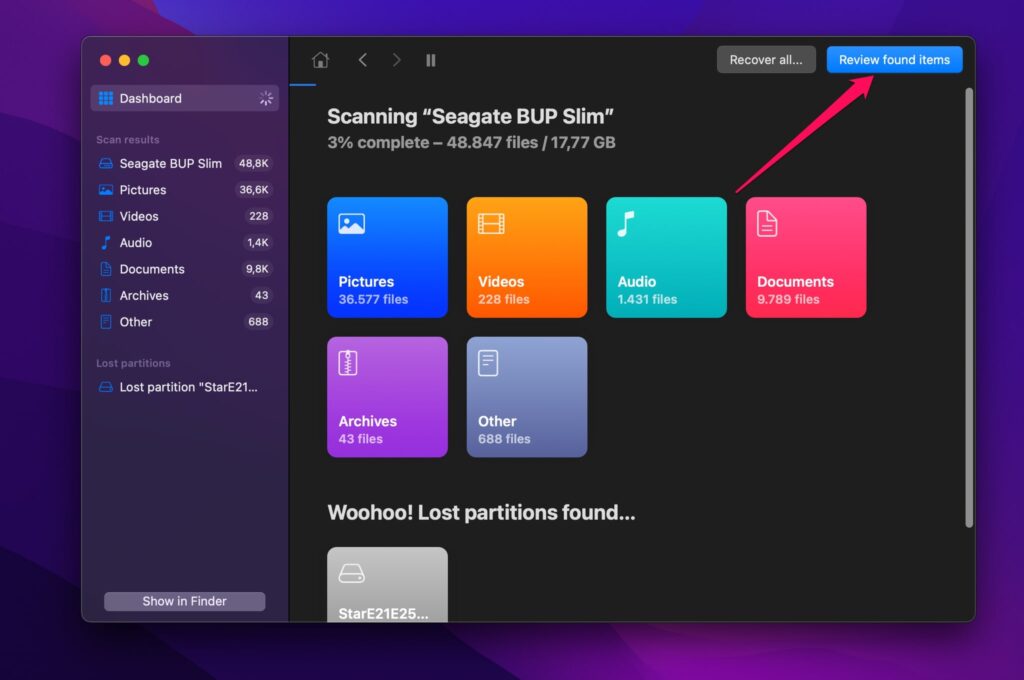
You can click Review found files while the scan is running, and you’ll get a preview of the recoverable files that Disk Drill has detected. Alternatively, you can let the scan finish before previewing the files.
You can use Disk Drill’s filters to sort files according to their type, sizes, and modification dates. This sorting is crucial when dealing with large files, which is likely the case for using external hard disks.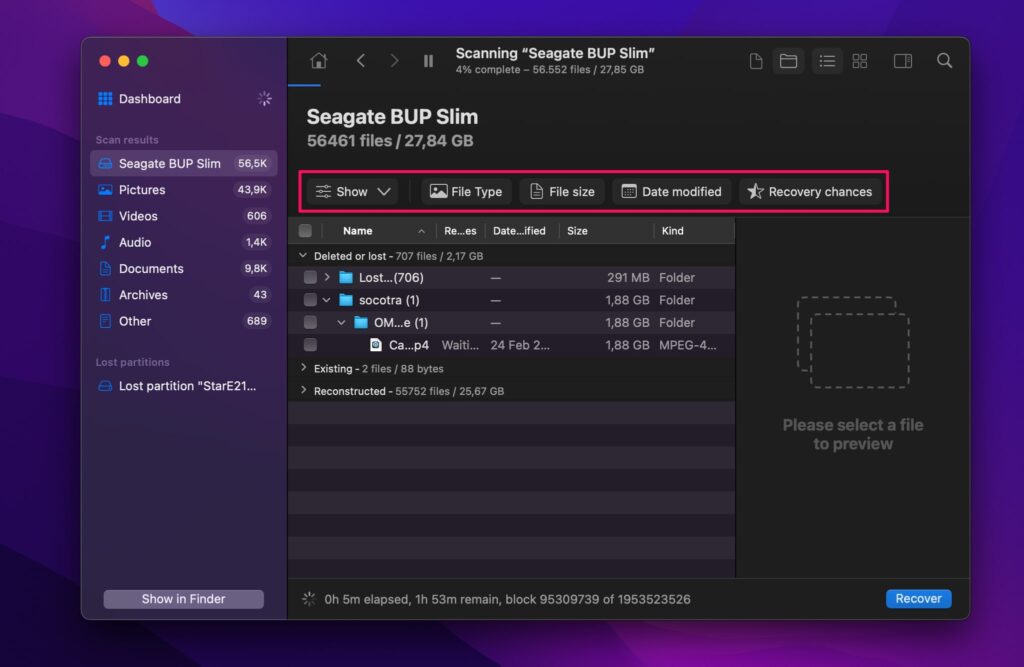
This app organizes files into three categories:
- Deleted or lost: deleted data was recovered.
- Existing: data is currently present on the disk.
- Reconstructed: data was recovered using file signatures.
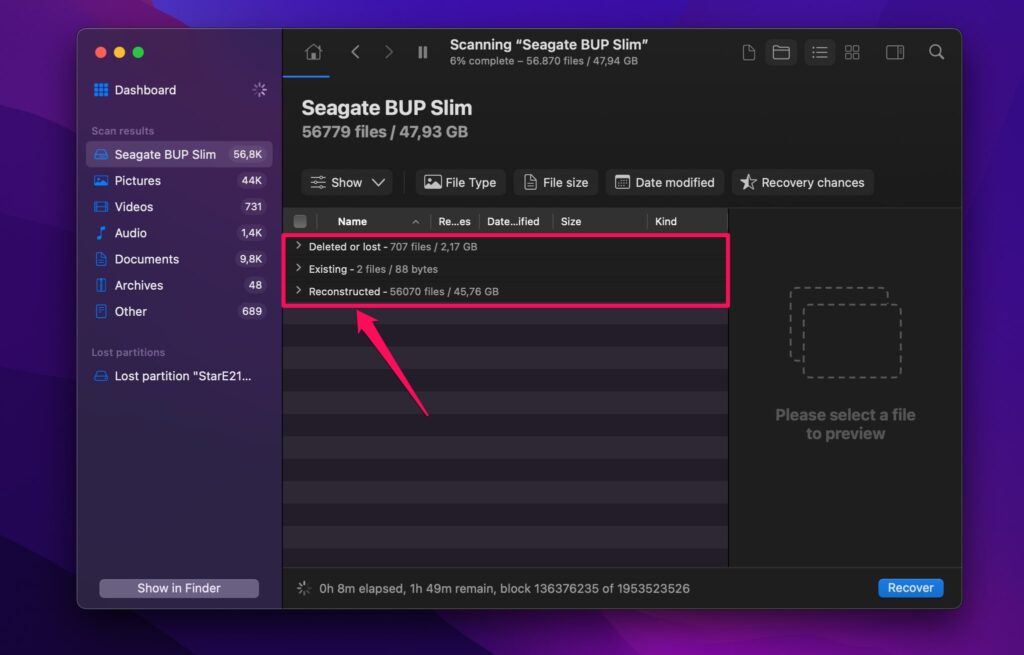
Disk Drill provides advanced filters to navigate between files in different categories. Our target for recovery here is the files in the “existing” category.
It also indicates the likelihood of recovering each file, letting you know what to expect.
You can preview and select every file you want to recover. After selecting them, click Recover to kickstart the recovery process. Disk Drill will prompt you to choose a directory to store the recovered files, and recovery begins.
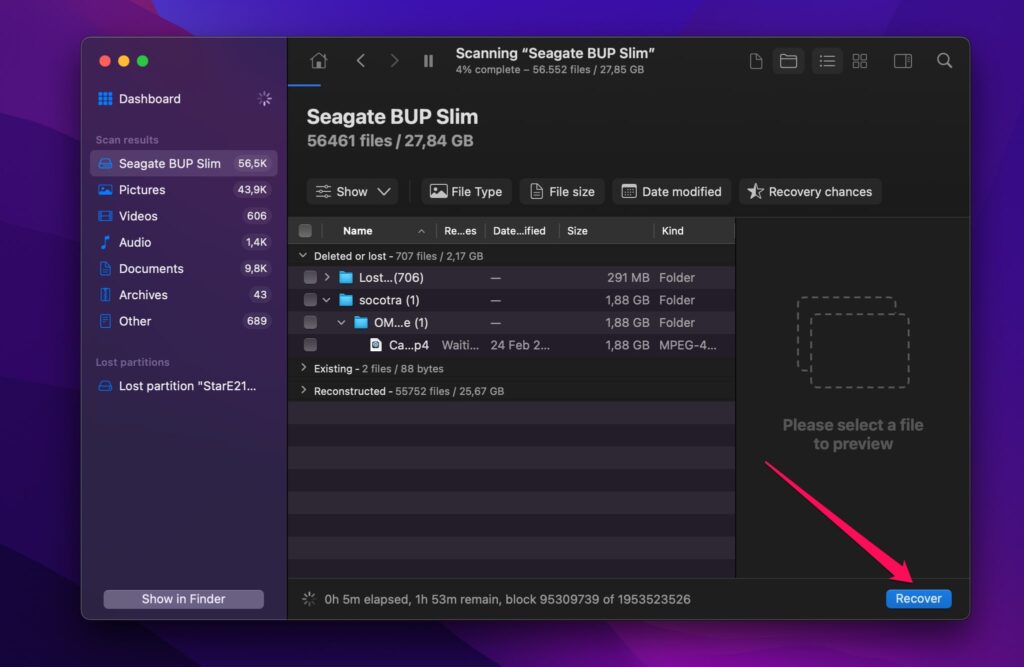
After the recovery is finished, Disk Drill gives you the option to view the files in Finder. Do this and confirm that the recovered files are in the directory you specified earlier.
How to Fix an External Hard Drive Not Mounting on a Mac
Method 1: Restart your Mac
A simple fix to many bugs is to restart your computer. Software processes often get complicated behind the scenes and cause unexpected bugs. Restarting your Mac refreshes its memory and clears temporary processes that might have caused the hard drive not to mount.
Method 2: Check Your MacOS Drive Display Settings
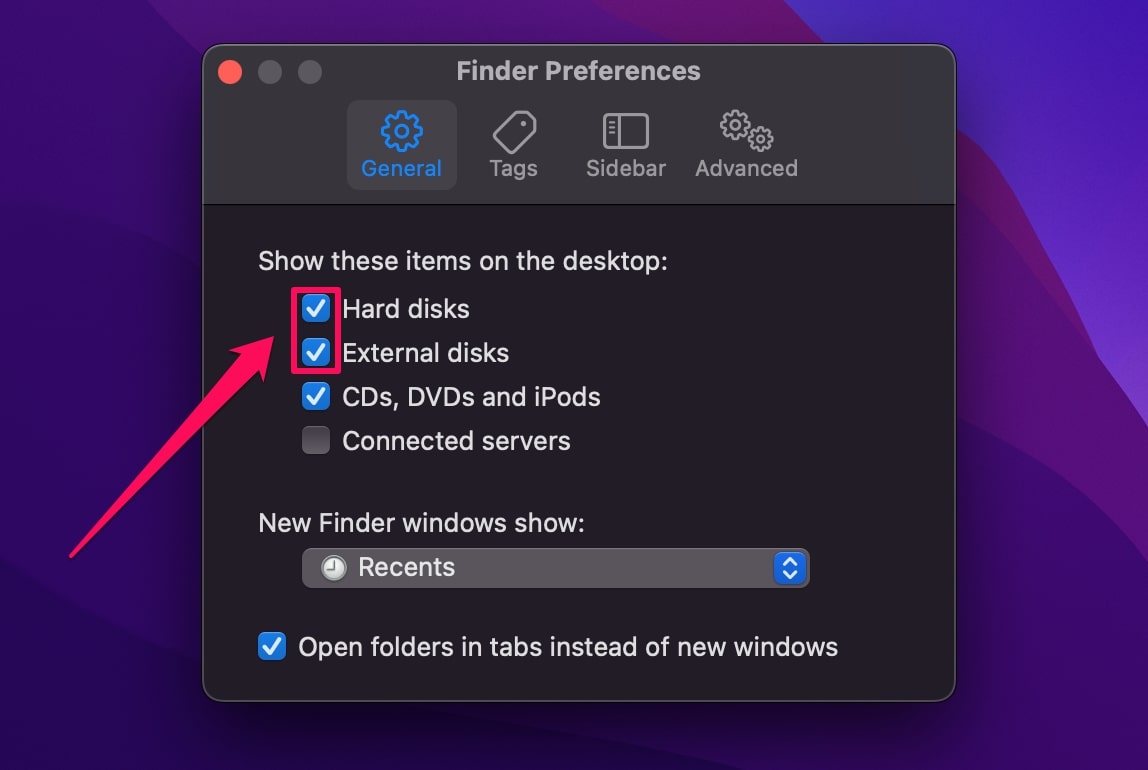
Your Mac’s display settings might be preventing an external hard drive from showing up. You can fix it by following these steps:
- Head to Finder > Preferences.
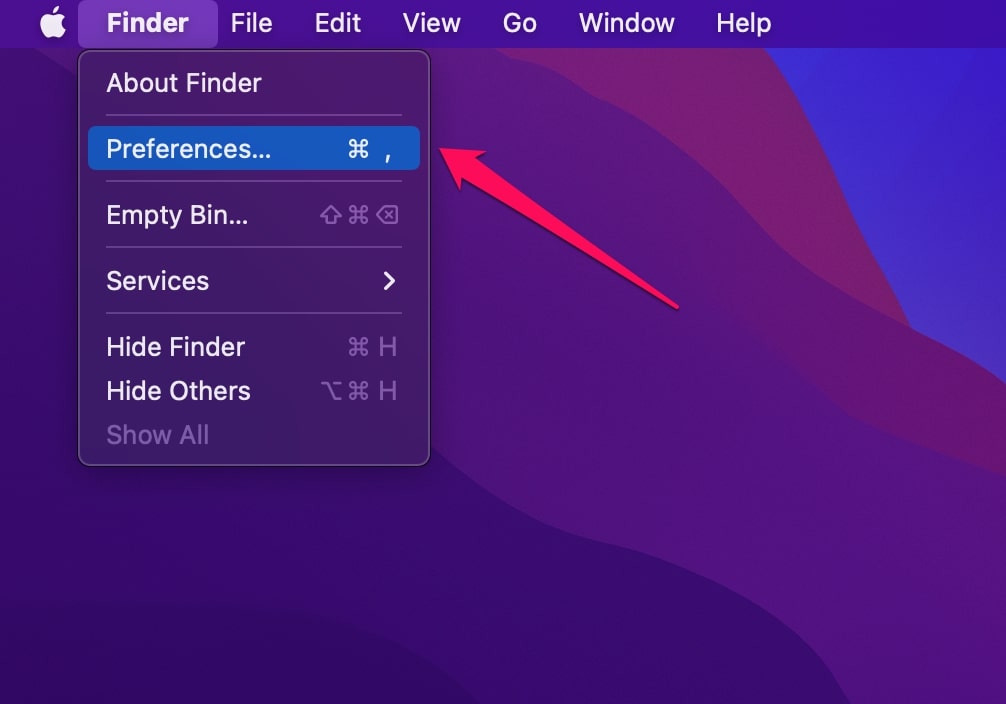
- Click General.
- Ensure Hard disks and External disks are enabled under “Show these items on the Desktop”.
Method 3: Test the External HDD Connectors and Cables
A loose or faulty cable can prevent an external HDD from mounting. Check your cables and ensure they are properly plugged in. Check if it’s loose in the port and adjust it if that’s the case. If it still doesn’t work, the cable might be damaged and needs replacement.
Method 4: Check the Power Supply
You need to choose the correct USB port supplying enough power to mount a hard drive. USB 2.0 ports deliver 0.5 amps of power, and USB 3.0 ports deliver 0.9 amps, so it’s wise to shoose the latter to connect an external drive. The good news is that all Macs released since 2012 have USB 3.0 ports.
Also, ensure your Mac isn’t in low-power mode when connecting an external disk, as it can prevent the disk from mounting.
Some powerful drives come with a power supply unit from their manufacturers, so ensure you always use it when plugging into a Mac.
Method 5: Try Different USB Ports
A faulty USB port on your Mac can prevent external hard drives from mounting. You can connect the drive via a different port to see if it solves the problem. If so, the previous USB port is faulty and needs repair or replacement.
Method 6: Check Your Crive’s File System
macOS is not compatible with all file systems, even though newer versions increasingly support as many as possible. For example, if your drive is formatted to the Linux ext4 file system, it may not mount on your Mac. But you can use third-party software like Paragon and Tuxera to mount ext4 drives.
Method 7: Repair Drive Errors Using First Aid
Every Mac has a First Aid tool that helps fix drive-related errors. This tool checks the health of your internal and external hard disks. If it observes any drive not mounting on a Mac, it troubleshoots the drive and tries to find a feasible solution.
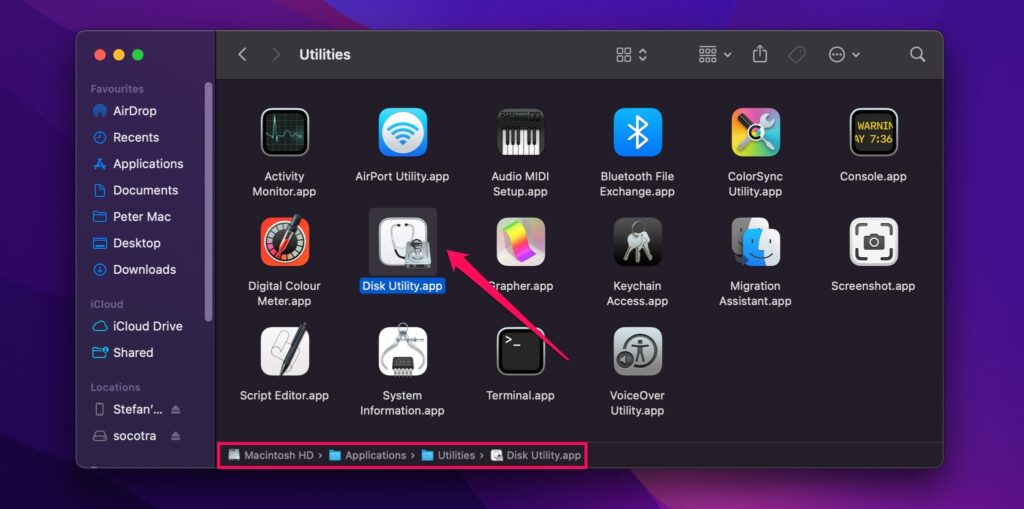
- Go to Finder > Applications > Utilities > Disk Utility.
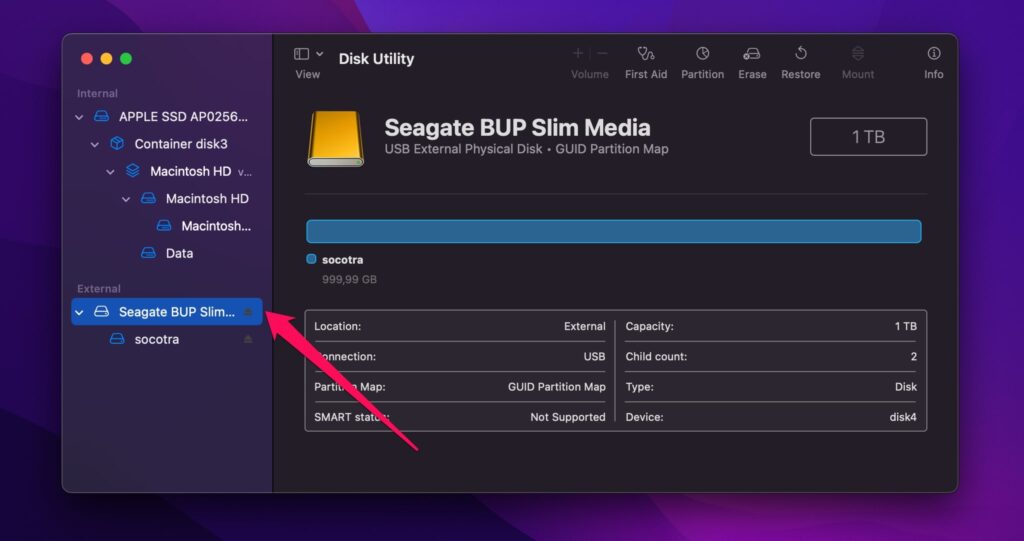
- Select your external drive from the left sidebar.
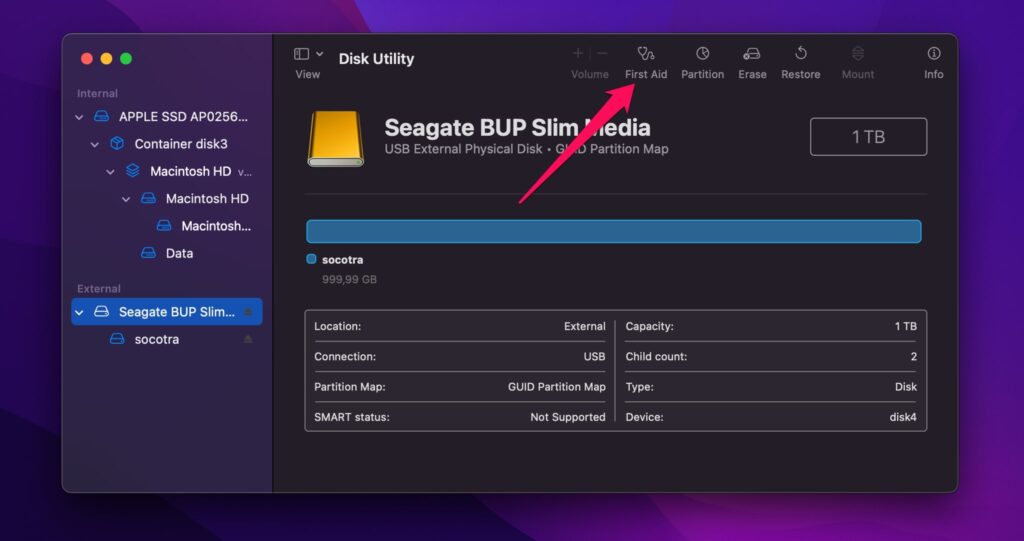
- Click First Aid at the top and hit Run to check and repair disk errors.
Method 8: Force Mount the Drive on a Mac Using Terminal
If you can view your external hard drive in Disk Utility but can not access the data, you can force mount disk on Mac via the Terminal app.
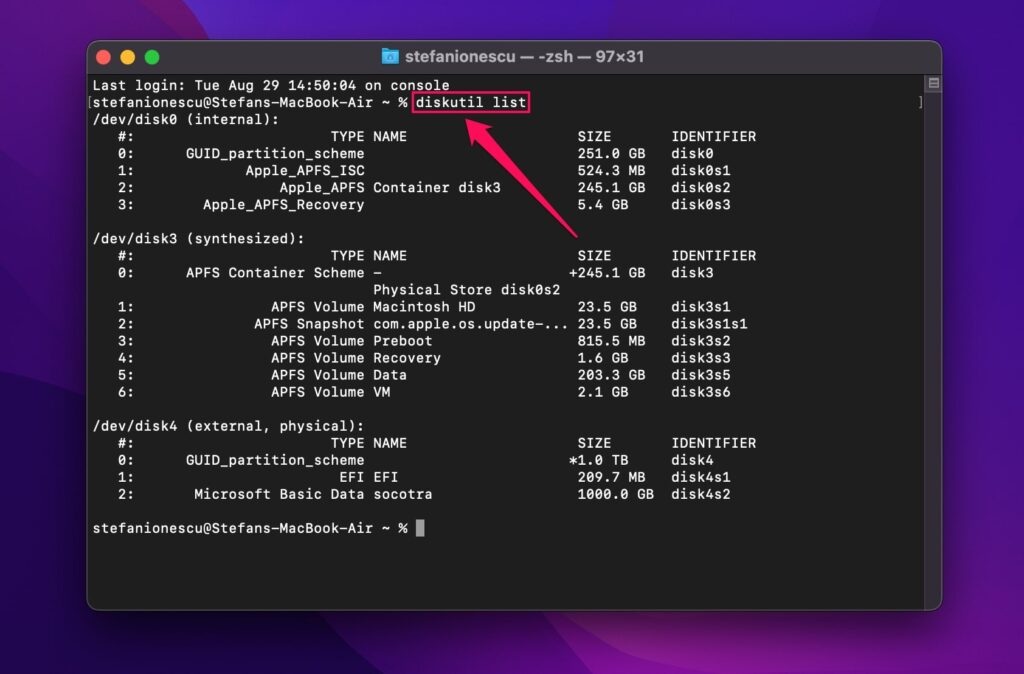
- Launch the Terminal app.
- Type diskutil list in the command line and press Enter. This command gives you a list of all connected devices, with names and numbers.
- Type this command: sudo mkdir /Volume/usb, replacing “usb” with the name of the external hard disk. Enter an admin password is prompted.
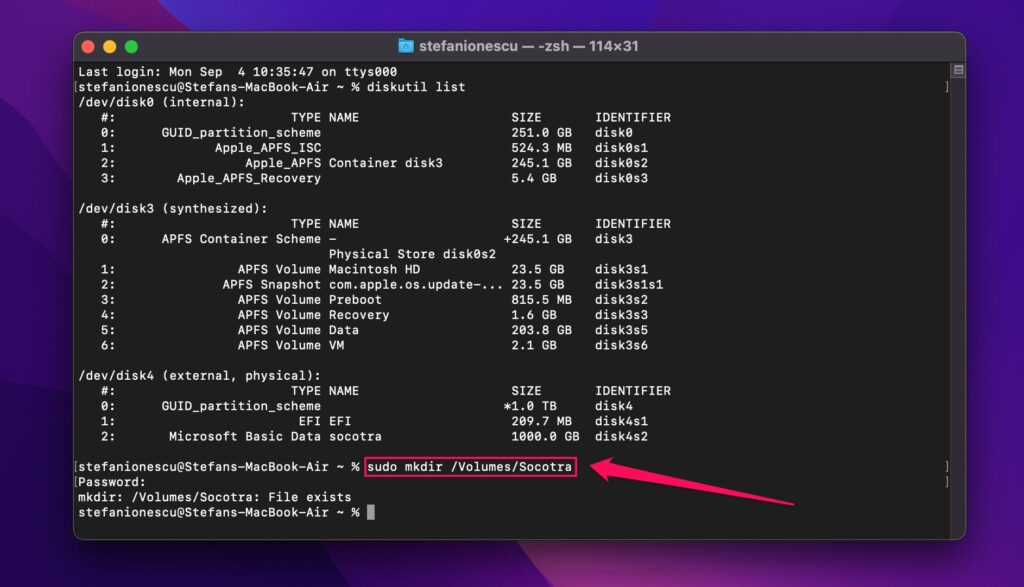
- Then, type sudo mount -t hfs /dev/disk1 /Volumes/usb. Replace “disk1” with your external hard disk number and “usb” with the name to complete the forced mount.

Method 9: Reset Mac Settings
You might be unable to mount an external hard drive on Mac because of the computer itself. In that case, you can reset your Mac’s System Management Controller (SMC) or its parameter random-access memory (PRAM)/on-volatile random–access memory (NVRAM) in newer Macs.
PRAM/NVRAM
- Shut down your Mac and disconnect all devices.
- Press the Mac’s power button and immediately press and hold the Option, Command, P, and R keys.
- Hold the keys for 20 seconds, during which your Mac restarts. On older Macs, release the keys when you hear a second ringing sound. On newer Macs, release the keys after the Apple logo appears and disappears a second time.
- Allow your Mac to finish rebooting.
SMC
- Shut down your Mac: press and hold the power button for 10 seconds, and release it.
- Wait for a few seconds.
- With the Mac still off, press Shift-Control-Option and the power button simultaneously.
- Release the keys to power on your Mac
Method 10: Format Your External Hard Drive
If you try all the above options to resolve the hard drive not mounting on Mac and the issue persists, the last option is formatting the drive. This process wipes the files on the disk along with any viruses or bugs preventing it from mounting. The good news is that your files are not permanently lost: you can use Disk Drill to recover files from your hard drive even after formatting it.
Conclusion
An external hard drive not mounting on Mac can be frustrating, especially when it contains important files you want to use immediately. However, don’t fret. You can always resolve the issue using the steps we’ve outlined. If you try all the steps and the issue persists, you can format the drive and recover the lost files using Disk Drill. Formatting will likely fix the problem, and you’ll recover your files, marking a win-win.
Frequently Asked Questions
How do I force an external hard drive to mount on a Mac?
Follow these steps:
- Launch the Terminal app, and a command line will open.
- Type diskutil list and press Enter. This command shows you all connected devices, with names and numbers for each one.
- Type this command: sudo mkdir /Volume/usb. Replace “usb” with the name of your external hard drive and press Enter. Provide an admin password if prompted.
- Then, type sudo mount -t hfs /dev/disk1 /Volumes/usb. Replace “disk1” with your external hard disk number and “usb” with the name to force-mount the disk.
How do I restore data from my external hard drive that won't mount?
You can Disk Drill to recover data from external hard disks that refuse to mount, even if they’re corrupted or broken.
- Download and install Disk Drill.
- Connect the external hard drive that is not mounting and launch Disk Drill.
- Click Search for lost data to scan the drive.
- Preview the detected lost files and select the ones to recover.
- Click Recover to complete the action.
Why external hard drive won't mount in Mac’s Disk Utility?
There are many reasons why an external hard disk won’t mount in Mac’s Disk Utility, such as faulty cables or USB ports, low power supply, misconfigured Mac settings, or incompatible file systems. The good news is that any source has a solution, which we’ve explained.
Conclusion
Dealing with GoPro SD card errors can be a challenging ordeal, especially if you’re at risk of losing precious photos or videos. But if you follow the steps described in this article, you can significantly increase your chances of successful file recovery. Good luck!

- 2 publishings
Stefan Ionescu is a passionate technology enthusiast and freelance writer with an MSc in Geological Engineering. Despite his educational background, his love for technology and natural flair for writing have led him to carve out a successful career in the world of tech content creation. Stefan has also developed a strong expertise in data recovery topics, providing valuable insights and guidance for those facing data loss challenges. He is an advocate for both Windows and Mac, emphasizing the advantages and innovations they bring to the world, including their data recovery capabilities. With vast experience and a deep understanding of technical aspects, he is adept at breaking down complex technological topics into easily digestible content for a broad audience.
- Frisco, Texas, United States
Yevgeniy Tolkunov is Hardware Engineer at ACE Data Recovery. Yevgeniy has a Master's Degree in Physics, Information Technology; 15+ years of experience.